Can You Massage Abdominal Adhesions?
Abdominal adhesions are a common yet often overlooked issue that can cause significant discomfort and health problems. These bands of scar tissue form between abdominal organs or between the organs and the abdominal wall, usually as a result of surgery, infection, or inflammation. They can lead to symptoms such as pain, bloating, and even bowel obstruction in severe cases. One question that frequently arises is whether these adhesions can be treated through massage. As soft tissue specialists, LIVEWELL has extensive experience in treating a range of conditions, including abdominal adhesions, using various massage techniques. In this article, we explore whether abdominal adhesions can be effectively managed with massage therapy.
Understanding Abdominal Adhesions
Abdominal adhesions develop when fibrous bands of scar tissue form after abdominal surgery, infection, or inflammation. They can cause organs to stick together or adhere to the abdominal wall, restricting their normal movement. The most common cause of adhesions is surgery, particularly procedures involving the bowel, appendix, or reproductive organs. Even minimally invasive surgeries like laparoscopies can result in adhesions.
In most cases, adhesions are asymptomatic and go unnoticed. However, when they do cause symptoms, they can be debilitating. Chronic pain, digestive issues, and infertility are some of the complications that may arise. In extreme cases, adhesions can lead to bowel obstruction, a life-threatening condition that requires immediate medical attention.
Can Massage Help with Abdominal Adhesions?
Massage therapy is widely recognised for its ability to treat various musculoskeletal and soft tissue issues, but can it help with abdominal adhesions? The short answer is yes, but with certain caveats. While massage cannot completely eliminate adhesions, it can help to soften and stretch the scar tissue, improving mobility, reducing pain, and alleviating some of the associated symptoms. However, it is crucial that the massage is performed by a skilled therapist with experience in treating adhesions, as improper technique can cause further discomfort or even exacerbate the condition.
How Does Massage Work on Adhesions?
When massage is applied to areas affected by adhesions, it can help to break down some of the fibrous tissue, improving circulation and promoting the healing process. Techniques such as myofascial release, deep tissue massage, and soft tissue mobilisation are particularly effective in treating adhesions. These methods work by gently stretching the scar tissue and surrounding muscles, increasing flexibility and reducing the tension that often accompanies adhesions.
At LIVEWELL, our therapists are trained in a variety of massage techniques, allowing us to tailor treatment to the specific needs of each client. For those suffering from abdominal adhesions, we often use a combination of myofascial release and deep tissue massage to target the affected area. Myofascial release is a gentle technique that focuses on releasing tension in the fascia, the connective tissue that surrounds muscles and organs. By applying sustained pressure to the adhesions, the therapist can help to stretch and soften the scar tissue, improving mobility and reducing pain. Deep tissue massage, on the other hand, works to relieve deeper layers of muscle and connective tissue, addressing the root cause of the discomfort.
The Importance of Professional Treatment
While massage can be an effective treatment for abdominal adhesions, it is essential that it is performed by a qualified professional. The abdomen is a sensitive area, and improper technique can lead to injury or aggravate existing adhesions. At LIVEWELL, our therapists are among the most highly qualified in the UK, with extensive training in a wide range of massage modalities, including Swedish Massage, deep tissue, sports massage, lymphatic drainage, and pregnancy massage. This breadth of expertise ensures that we can provide safe and effective treatment for a wide range of conditions, including abdominal adhesions.
Our team of soft tissue specialists is also well-versed in the anatomy and physiology of the abdomen, enabling us to understand the complexities of adhesions and how best to treat them. Whether you require treatment in one of our clinics or prefer the convenience of a mobile service, our nationwide coverage ensures that we can reach you no matter where you are located in the UK.
The Benefits of Massage for Abdominal Adhesions
When performed correctly, massage therapy can offer several benefits for those suffering from abdominal adhesions. These include:
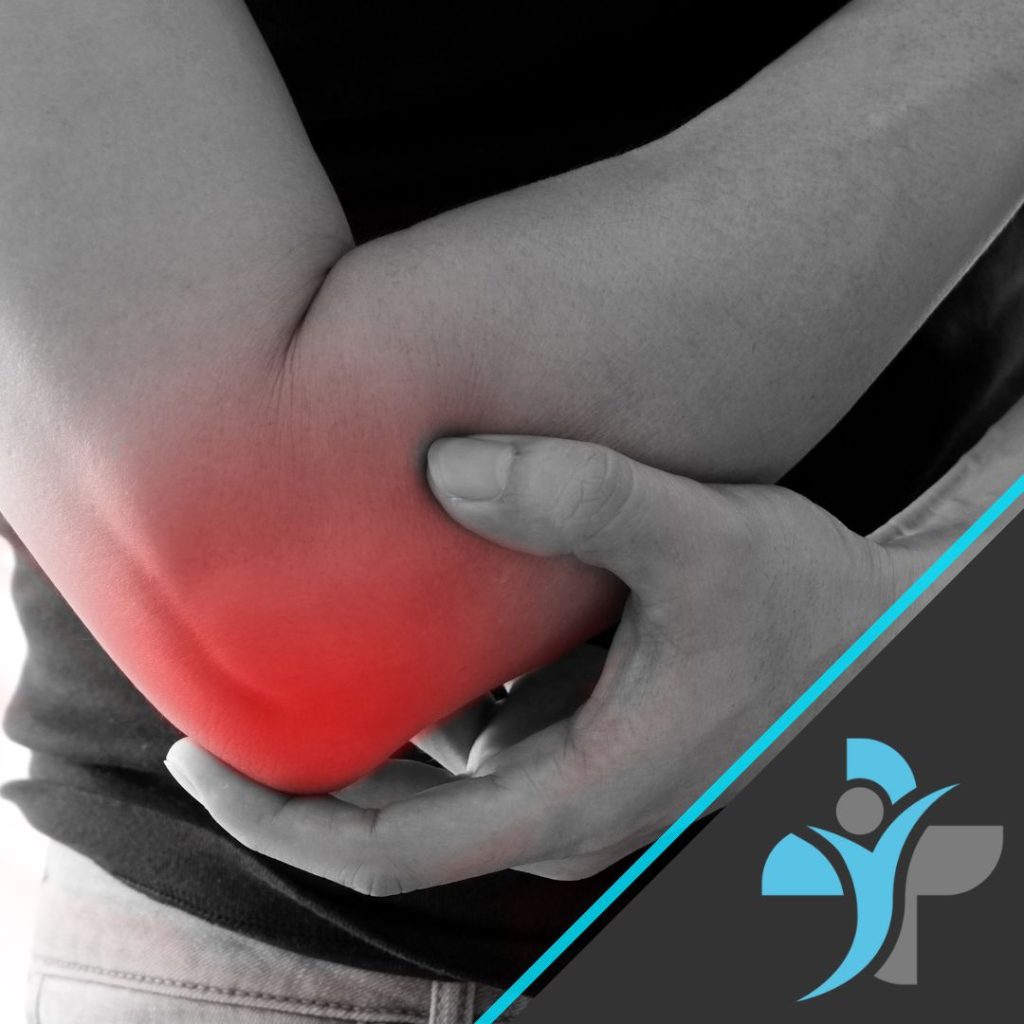
- Pain Relief: Adhesions can cause chronic pain by pulling on surrounding tissues and restricting movement. Massage helps to release this tension, reducing pain and discomfort.
- Improved Mobility: By softening the scar tissue, massage can help to restore the normal movement of organs and muscles, improving overall mobility.
- Enhanced Circulation: Massage promotes better blood flow to the affected area, aiding in the healing process and reducing inflammation.
- Digestive Health: Abdominal adhesions can interfere with digestion, leading to bloating and other gastrointestinal issues. Massage can help to alleviate these symptoms by promoting better movement of the abdominal organs.
- Prevention of Further Complications: Regular massage therapy can help to maintain the flexibility of the tissues, reducing the risk of further complications such as bowel obstruction.
A Holistic Approach to Treatment
At LIVEWELL, we believe in taking a holistic approach to treatment. While massage can be highly effective in managing abdominal adhesions, it is often most beneficial when combined with other therapies and lifestyle changes. For example, we may recommend a program of gentle stretching exercises to complement the massage, helping to maintain flexibility and prevent the recurrence of adhesions. We may also suggest dietary adjustments to reduce inflammation and promote better digestive health.
For clients who have undergone surgery, post-operative care is crucial in preventing the formation of adhesions. Our therapists are trained in post-surgical massage techniques that can help to minimise scar tissue development and promote faster healing. Additionally, we offer lymphatic drainage massage, which can reduce swelling and improve circulation, further aiding in the recovery process.
When to Seek Professional Help
While massage can be an effective treatment for abdominal adhesions, it is not always appropriate in every case. If you are experiencing severe pain, digestive issues, or symptoms of bowel obstruction, it is essential to seek medical advice before undergoing massage therapy. In some cases, surgery may be necessary to address the adhesions, and massage should only be considered as part of a broader treatment plan.
It is also important to note that massage is not a quick fix. Depending on the severity of the adhesions, it may take several sessions to achieve noticeable results. At LIVEWELL, we work closely with our clients to develop a personalised treatment plan that meets their needs and goals. We take the time to understand each client’s unique situation and provide ongoing support and advice to help them achieve the best possible outcome.
The difference between our therapists and other companies?
What sets LIVEWELL apart is our commitment to excellence and our dedication to client care. We are proud to be the UK’s leading provider of mobile and clinic-based massage therapy, offering a level of expertise and professionalism that is unmatched in the industry. Our therapists are not only highly skilled but also passionate about helping clients achieve their health and wellness goals. Whether you are dealing with abdominal adhesions or any other soft tissue issue, you can trust that you are in the best possible hands with LIVEWELL.
Our extensive range of qualifications means that we can offer a wide variety of treatments, tailored to the individual needs of our clients. From Swedish massage to sports massage, deep tissue to lymphatic drainage, we have the skills and knowledge to address a wide range of conditions. Our nationwide coverage also means that we can provide our services wherever you are, whether you prefer to visit one of our clinics or enjoy the convenience of a mobile service.
Conclusion
Abdominal adhesions can be a challenging and painful condition, but with the right treatment, they can be managed effectively. Massage therapy, when performed by a qualified professional, can help to soften and stretch scar tissue, improve mobility, and reduce pain. At LIVEWELL, our team of soft tissue specialists is uniquely equipped to provide this type of treatment, offering both clinic and mobile services across the UK. With our extensive range of qualifications and our commitment to client care, we are proud to be the UK’s leading provider of massage therapy.
If you are struggling with abdominal adhesions or any other soft tissue condition, we invite you to experience the LIVEWELL difference. Contact us today to find out how we can help you achieve better health and well-being through our expert massage services. Alternatively use our booking system to book directly.